This page sets out the terms and conditions on which we supply any goods, to you, the customer. Please read these terms and conditions carefully before ordering any Goods from Dixon Glass Limited. You should understand that by ordering any of our Goods, you agree to be bound by these terms and conditions.
You should print a copy of these terms and conditions for future reference.
Please understand that if you refuse to accept these terms and conditions, you should not order any Goods from our site.
Dixon Glass Limited are registered in England and Wales under company number 4526840 and have our registered office at Suffolk House, George Street, Croydon, Surrey, England, CR0 0YN Our VAT number is GB801907842.
2.1 The Academy catalogue and product range is only intended for sale to businesses and educational establishments in the United Kingdom and Republic of Ireland.
2.2 By placing an order with us, you warrant that:
2.2.1 you are legally capable of entering into binding contracts;
2.2.2 you are acting as a business or educational establishment or similar; as has always been the case, the goods we sell are for scientific purposes used within laboratory settings – the goods are durable, re-usable and integral parts of the scientific process. Our vessels are highly functional and design, shape, material and process specific. For example, amber glass of particular shade and thickness is uv resistant and prevents the alteration of the contents.
2.2.3 you are at least 18 years old; and
2.2.4 you are based in the United Kingdom or Republic of Ireland.
3.1 After placing an order, we will acknowledge that we have received your order. Please note that this does not mean that your order has been accepted. Your order is an offer by you to enter into a binding contract, which we are free to accept or decline at our absolute discretion.
3.2 Unless otherwise agreed, these terms and conditions shall become binding on you when you place the order.
3.4 If you think that there is a mistake, please make sure that you ask us to confirm any changes in writing, as we only accept responsibility for statements and representations made in writing by our authorised employees and agents. Depending upon whether we are able to exit purchase contracts that we have entered into with our supply chain, we may or may not be able to accept any alterations. Please ensure that you read and understand these terms and conditions before you accept them and submit the order, because you will be bound by the terms and conditions once a Contract comes into existence between us, in accordance with condition 3.2.
3.5 These terms apply to a Contract to the exclusion of any other terms that you seek to impose or incorporate, or which are implied by trade, custom, practice, or course of dealing.
3.6 Any samples, drawings, descriptions or advertising that we issue, and any descriptions or illustrations contained on our site, are issued or published solely to provide you with an approximate idea of the Goods they describe. They do not form part of the contract between you and us or any other contract between you and us for the sale of the Goods.
3.7 We shall assign an order number to the order and inform you of it in the Order Confirmation or delivery note. Please quote the order number in all subsequent correspondence with us relating to the order.
3.8 We have the right to revise and amend these terms and conditions from time to time. You will be subject to the policies and terms in force at the time that you order the Goods from us, unless any change to those policies or these terms and conditions is required by law or government or regulatory authority (in which case, it will apply to orders you have previously placed that we have not yet fulfilled).
4.1 We warrant that on delivery and for a period of 1 month from the date of delivery, the Goods shall:
4.1.1 be of satisfactory quality;
4.1.2 be free from material defects in design, material and workmanship; and
4.1.3 comply with all applicable statutory and regulatory requirements for selling the Goods in the United Kingdom.
4.2 This warranty does not apply to any defect in the Goods arising from fair wear and tear, wilful damage, accident, negligence by you or any third party, if you use the Goods in a way that we do not recommend, your failure to follow our instructions, or any alteration or repair you carry out without our prior written approval.
4.3 These terms and conditions apply to any replacement Goods we supply to you in the unlikely event that the original Goods are faulty or do not otherwise conform with these terms and conditions.
4.4 Except as set out in these terms and conditions all warranties, conditions and other terms implied by statute or common law are, to the fullest extent permitted by law, excluded.
5.1 Standard delivery: We aim to deliver in-stock items next working day on all orders received before 3 pm. This however is not guaranteed and time critical items should be discussed with our sales team before ordering. Saturday delivery is possible but will need to be arranged through our sales team and is liable to a surcharge. Please allow extra time for deliveries to the Scottish Highlands, Scottish Islands, Northern Ireland, Isle of Man and Isle of Wight.
5.2 Delivery of the order shall be completed when we deliver the Goods to you.
5.3 We will take reasonable steps to meet any estimated delivery date. However, occasionally delivery may be affected by factors beyond our control and so cannot be guaranteed.
5.4 If we fail to deliver our Goods, or if there is an issue with the goods you must notify us within 7 days of the expected delivery date. We will do our best to rectify the situation. Any claim that is made after the 7 day period will not be accepted. Our liability shall be limited to the costs and expenses that you incur in obtaining replacement goods of similar description and quality in the cheapest market available, less the price of the Goods. We shall have no liability for any failure to deliver the Goods to the extent that such failure is caused by a Force Majeure Event or your failure to provide us with adequate delivery instructions or any other instructions that are relevant to the supply of the Goods.
5.5 If you fail to take delivery of an order, then, except where this failure is caused by our failure to comply with these terms and conditions or by an event beyond your control:
5.5.1 we will store the Goods until delivery takes place and may charge you a reasonable sum to cover storage, insurance and other expenses incurred.
5.5.2 We shall have no liability to you for late delivery.
5.6 If you have not taken delivery of the Goods within 2 weeks of our notifying you that they are ready, we may, after giving you reasonable prior notice in writing, resell or otherwise dispose of part or all of the Goods and, after deducting reasonable storage and selling costs, pay you for any excess over the price of the Goods or charge you for any shortfall below their price.
5.7 If we are not able to deliver the whole of the order at one time due to operational reasons or shortage of stock, we will deliver the order in instalments. We will not charge you extra delivery costs for this. If you ask us to deliver the order in instalments, we may charge you extra delivery costs. Each instalment shall constitute a separate contract. If we are late delivering an instalment or one instalment is faulty, that will not entitle you to cancel any other instalment.
5.8 If upon delivery you discover that the Goods are damaged or have not been delivered in accordance with your order then you must notify us of this within 7 working days of the date of delivery. If you fail to do so then we will not be obliged to remedy the defect. If you are a consumer this does not affect your statutory rights.
6.1 In the unlikely event that the Goods do not conform with these terms and conditions, please let us know as soon as possible after delivery. We will then either authorise the return of the Goods and arrange to collect the Goods on a date agreed between us (please note that we will not be responsible for any delay caused by a third party carrier) or ask you to return the Goods to us at our cost, and once we have checked that the Goods are faulty, we will:
6.1.1 provide you with a full or partial refund;
6.1.2 replace the Goods; or
6.1.3 repair the Goods.
6.2 These terms and conditions will apply to any repaired or replacement Goods we supply to you.
6.3 If having checked any returned Goods, we have found that they are not faulty, we may charge you a handling fee equivalent to 20% of the price that you originally paid for the Goods or £10, whichever is the greater.
7.1 The Goods will be at your risk from the time of delivery.
7.2 Ownership of the Goods will only pass to you when we receive full payment of all sums due in respect of the Goods, including delivery charges, and any other goods that we have supplied to you.
8.1 The price of the Goods will be as set out at the time we confirm your order. Prices are liable to change at any time, but price changes will not affect orders that we have confirmed in writing.
8.2 These prices exclude VAT which will be added to the total amount due at the checkout
8.3 These prices exclude delivery costs, which will be added to the total amount due at the checkout.
8.4 It is always possible that, despite our best efforts, some of the Goods we sell may be incorrectly priced and we will, at our discretion, issue an errata list from time to time. Where the Goods’ correct price is less than or higher than our stated price, we will charge the correct price when dispatching the Goods to you.
8.5 If you do not have an account with us payment for all Goods must be made in advance by credit or debit card.
8.6 If using a debit or credit card, Smith Scientific Limited will waive banking charges up to and including 2% of the goods value. Any charge for credit facilities above 2% of the goods value will be charged back to the customer before goods are despatched.
8.7 If you have an account with us we may invoice you for the Goods on or at any time after the date we have delivered the Goods to you. The invoice will quote the Order Number. You must pay the invoice in cleared monies within 30 calendar days of the date of the invoice.
8.8 If you do not make any payment due to us by the due date for payment (as set out in condition 8.7), we may charge interest to you on the overdue amount at the rate specified in the late payment of commercial debts (interest) Act 1998 as amended from time to time. This interest shall accrue on a daily basis from the due date until the date of actual payment of the overdue amount, whether before or after judgment. You must pay us interest together with the overdue amount.
8.9 It is a criminal offence to use a false name or an invalid credit or debit card to purchase Goods from Smith Scientific Limited.
8.10 If:
8.10.1 your payment for Goods is overdue;
8.10.2 you have breached these terms and conditions; or
8.10.3 we suspect that you have or are about to engage in any kind of fraudulent activity in relation to our business, we may terminate any of your outstanding orders, your account and may, at our sole discretion, refuse to accept any of your future orders.
8.11 If you apply for a credit account we may make searches about the company, a sole trader, partnership or consumer with credit reference agencies who will supply us with credit information, as well as information from the Electoral Register. The agencies will record details of the search whether or not credit is granted. This information may also be used for debtor tracing, fraud prevention, prevention of money laundering as well as the management of your account.
9.1 Subject to condition 9.3 we shall only be responsible for losses which are a foreseeable consequence of our failure to comply with these terms and conditions and our total liability to you for all losses arising under or in connection with a Contract whether in contract, tort (including negligence), breach of statutory duty, or otherwise, shall not exceed the price paid or payable for the Goods.
9.2 Subject to condition 9.3 we shall not be responsible for losses that you suffer as a result of our failure to comply with these terms and conditions that fall into the following categories:
9.2.1 loss of income or revenue;
9.2.2 loss of business;
9.2.3 loss of anticipated savings;
9.2.4 loss of data; or
9.2.5 any waste of time.
However, this condition 9.2 shall not prevent claims for foreseeable loss of, or damage to, your physical property.
9.3 This condition 9 does not include or limit in any way our liability for:
9.3.1 death or personal injury caused by our negligence;
9.3.2 fraud or fraudulent misrepresentation;
9.3.3 any breach of the obligations implied by section 12 of the Sale of Goods Act 1979 or section 2 of the Supply of Goods and Services Act 1982; or
9.3.4 any other matter for which it would be illegal or unlawful for us to exclude or attempt to exclude our liability.
10.1 We will not be liable or responsible for any failure to perform, or delay in performance of, any of our obligations under a Contract that is caused by Force Majeure.
11.1 We will not be liable or responsible for any failure to perform, or delay in performance of, any of our obligations under a Contract that is caused by events outside our reasonable control This includes any act, event, non-happening, omission or accident beyond our reasonable control and includes in particular (without limitation) the following:
11.2.1 strikes, lock-outs or other industrial action;
11.2.2 civil commotion, riot, invasion, terrorist attack or threat of terrorist attack, war (whether declared or not) or threat or preparation for war;
11.2.3 fire, explosion, storm, flood, earthquake, subsidence, epidemic or other natural disaster and the related effects thereof:
11.2.4 impossibility/unfeasability of the use of railways, shipping, aircraft, motor transport or other means of public or private transport;
11.2.5 the failure of our agents or subcontractors;
11.2.6 supply chain actions such as deleting product lines or increasing prices;
11.2.7 impossibility of the use of public or private telecommunications networks; or
11.2.8 the acts, decrees, legislation, regulations or restrictions of any government.
11.3 Our performance under any Contract is deemed to be suspended for the period that the uncontrollable event continues, and we will have an extension of time for performance for the duration of that period. Pricing may be adversely affected, we cannot absorb such costs and they must be passed on to the purchasing entity. We will use our reasonable endeavours to bring the event to a close or to find a solution by which our obligations under the Contract may be performed despite the event.
We may provide links on our website to the websites of other companies, whether affiliated with us or not. We cannot give any undertaking, that goods you purchase from third party sellers through our website, or from companies to whose website we have provided a link on our site, will be of satisfactory quality, and any such warranties are DISCLAIMED by us absolutely. This DISCLAIMER does not affect your statutory rights against the third party seller. We will notify you when a third party is involved in a transaction, and we may disclose your customer information related to that transaction to the third party seller.
Goods which are described as being exclusive are exclusive to Dixon Glass Limited.
Applicable laws require that some of the information or communications we send to you should be in writing. When using our site, you accept that communication with us will be mainly electronic. We will contact you by e-mail or provide you with information by posting notices on our website. For contractual purposes, you agree to this electronic means of communication and you acknowledge that all contracts, notices, information and other communications that we provide to you electronically comply with any legal requirement that such communications be in writing. This condition does not affect your statutory rights.
All notices given by you to us must be given to Dixon Glass Limited, Suffolk House, George Street, Croydon, Surrey, England, CR0 0YN or info@dixonscience.com. We may give notice to you at either the e-mail or postal address you provide to us when placing an order, or in any of the ways specified in clause 13 above. Notice will be deemed received and properly served immediately when posted on our website, 24 hours after an e-mail is sent, or three days after the date of posting of any letter. In proving the service of any notice, it will be sufficient to prove, in the case of a letter, that such letter was properly addressed, stamped and placed in the post and, in the case of an e-mail, that such e-mail was sent to the specified e-mail address of the addressee.
16.1 The Contract between you and us is binding on you and us and on our respective successors and assigns.
16.2 You may not transfer, assign, charge or otherwise dispose of a Contract, or any of your rights or obligations arising under it, without our prior written consent.
16.3 We may transfer, assign, charge, sub-contract or otherwise dispose of a Contract, or any of our rights or obligations arising under it, at any time during the term of the Contract.
17.1 If we fail, at any time during the term of a Contract, to insist upon strict performance of any of your obligations under the Contract or any of these terms and conditions, or if we fail to exercise any of the rights or remedies to which we are entitled under the Contract, this shall not constitute a waiver of such rights or remedies and shall not relieve you from compliance with such obligations.
17.2 A waiver by us of any default shall not constitute a waiver of any subsequent default.
17.3 No waiver by us of any of these terms and conditions shall be effective unless it is expressly stated to be a waiver and is communicated to you in writing in accordance with the clause above.
If any of these terms and conditions or any provisions of a Contract are determined by any competent authority to be invalid, unlawful or unenforceable to any extent, such term, condition or provision will to that extent be severed from the remaining terms, conditions and provisions which will continue to be valid to the fullest extent permitted by law.
19.1 These terms and conditions and any document expressly referred to in them constitute the whole agreement between us and supersede any previous arrangement, understanding or agreement between us, relating to the subject matter of any Contract.
19.2 We each acknowledge that, in entering into a Contract, (and the documents referred to in it), neither of us relies on any statement, representation, assurance or warranty (Representation) of any person (whether a party to that Contract or not) other than as expressly set out in these terms and conditions.
19.3 Each of us agrees that the only rights and remedies available to us arising out of or in connection with a Representation shall be for breach of contract as provided in these terms and conditions.
19.4 Nothing in this clause shall limit or exclude any liability for fraud
Contracts for the purchase of Goods through our site and any dispute or claim arising out of or in connection with them or their subject matter or formation (including non-contractual disputes or claims) will be governed by English law and shall be subject to the non-exclusive jurisdiction of the courts of England and Wales.
Introduction to Laboratory Glassware Understanding Different Types of Laboratory Glassware
Importance of Clean Laboratory Glassware in Experiments
Glass Quality and Types
Durability and Chemical Resistance
Handling Dirty Glassware
Sorting Glassware by Type and Contamination Level
Step-by-Step Guide For Cleaning Laboratory Glassware
Common Mistakes in Manual Washing
Types of Laboratory Glassware Washers
Pros and Cons of Automated Washing
Selecting the Right Detergent
Natural vs. Chemical Detergents
Techniques for Tough Stains and Deposits
Safety Measures in Handling Harsh Chemicals
Effective Rinsing Techniques
Air-Drying vs. Oven-Drying
Proper Storage Techniques
Regular Maintenance and Care
Residue Build-up and How to Avoid It
Handling Breakage and Cracks
Eco-Friendly Washing Practices
Waste Management in Glassware Washing
Ultrasonic Cleaning
Specialized Cleaning for Sensitive Equipment
Educating Lab Personnel
Establishing Routine Cleaning Protocols
In-Depth Guide to Effective Glassware Cleaning
FAQ’s
Recap and Final Thoughts

Discover the art of washing laboratory glassware with our comprehensive guide. Learn essential tips to ensure cleanliness and precision in all of your scientific experiments!
Laboratory glassware is a cornerstone of scientific experimentation, providing the means to measure, mix, and analyse with precision. However, the accuracy and success of these experiments hinge on the cleanliness and integrity of this glassware. Let’s jump into the world of washing laboratory glassware; exploring methods, tips, and best practices to maintain the quality and reliability of your lab equipment.
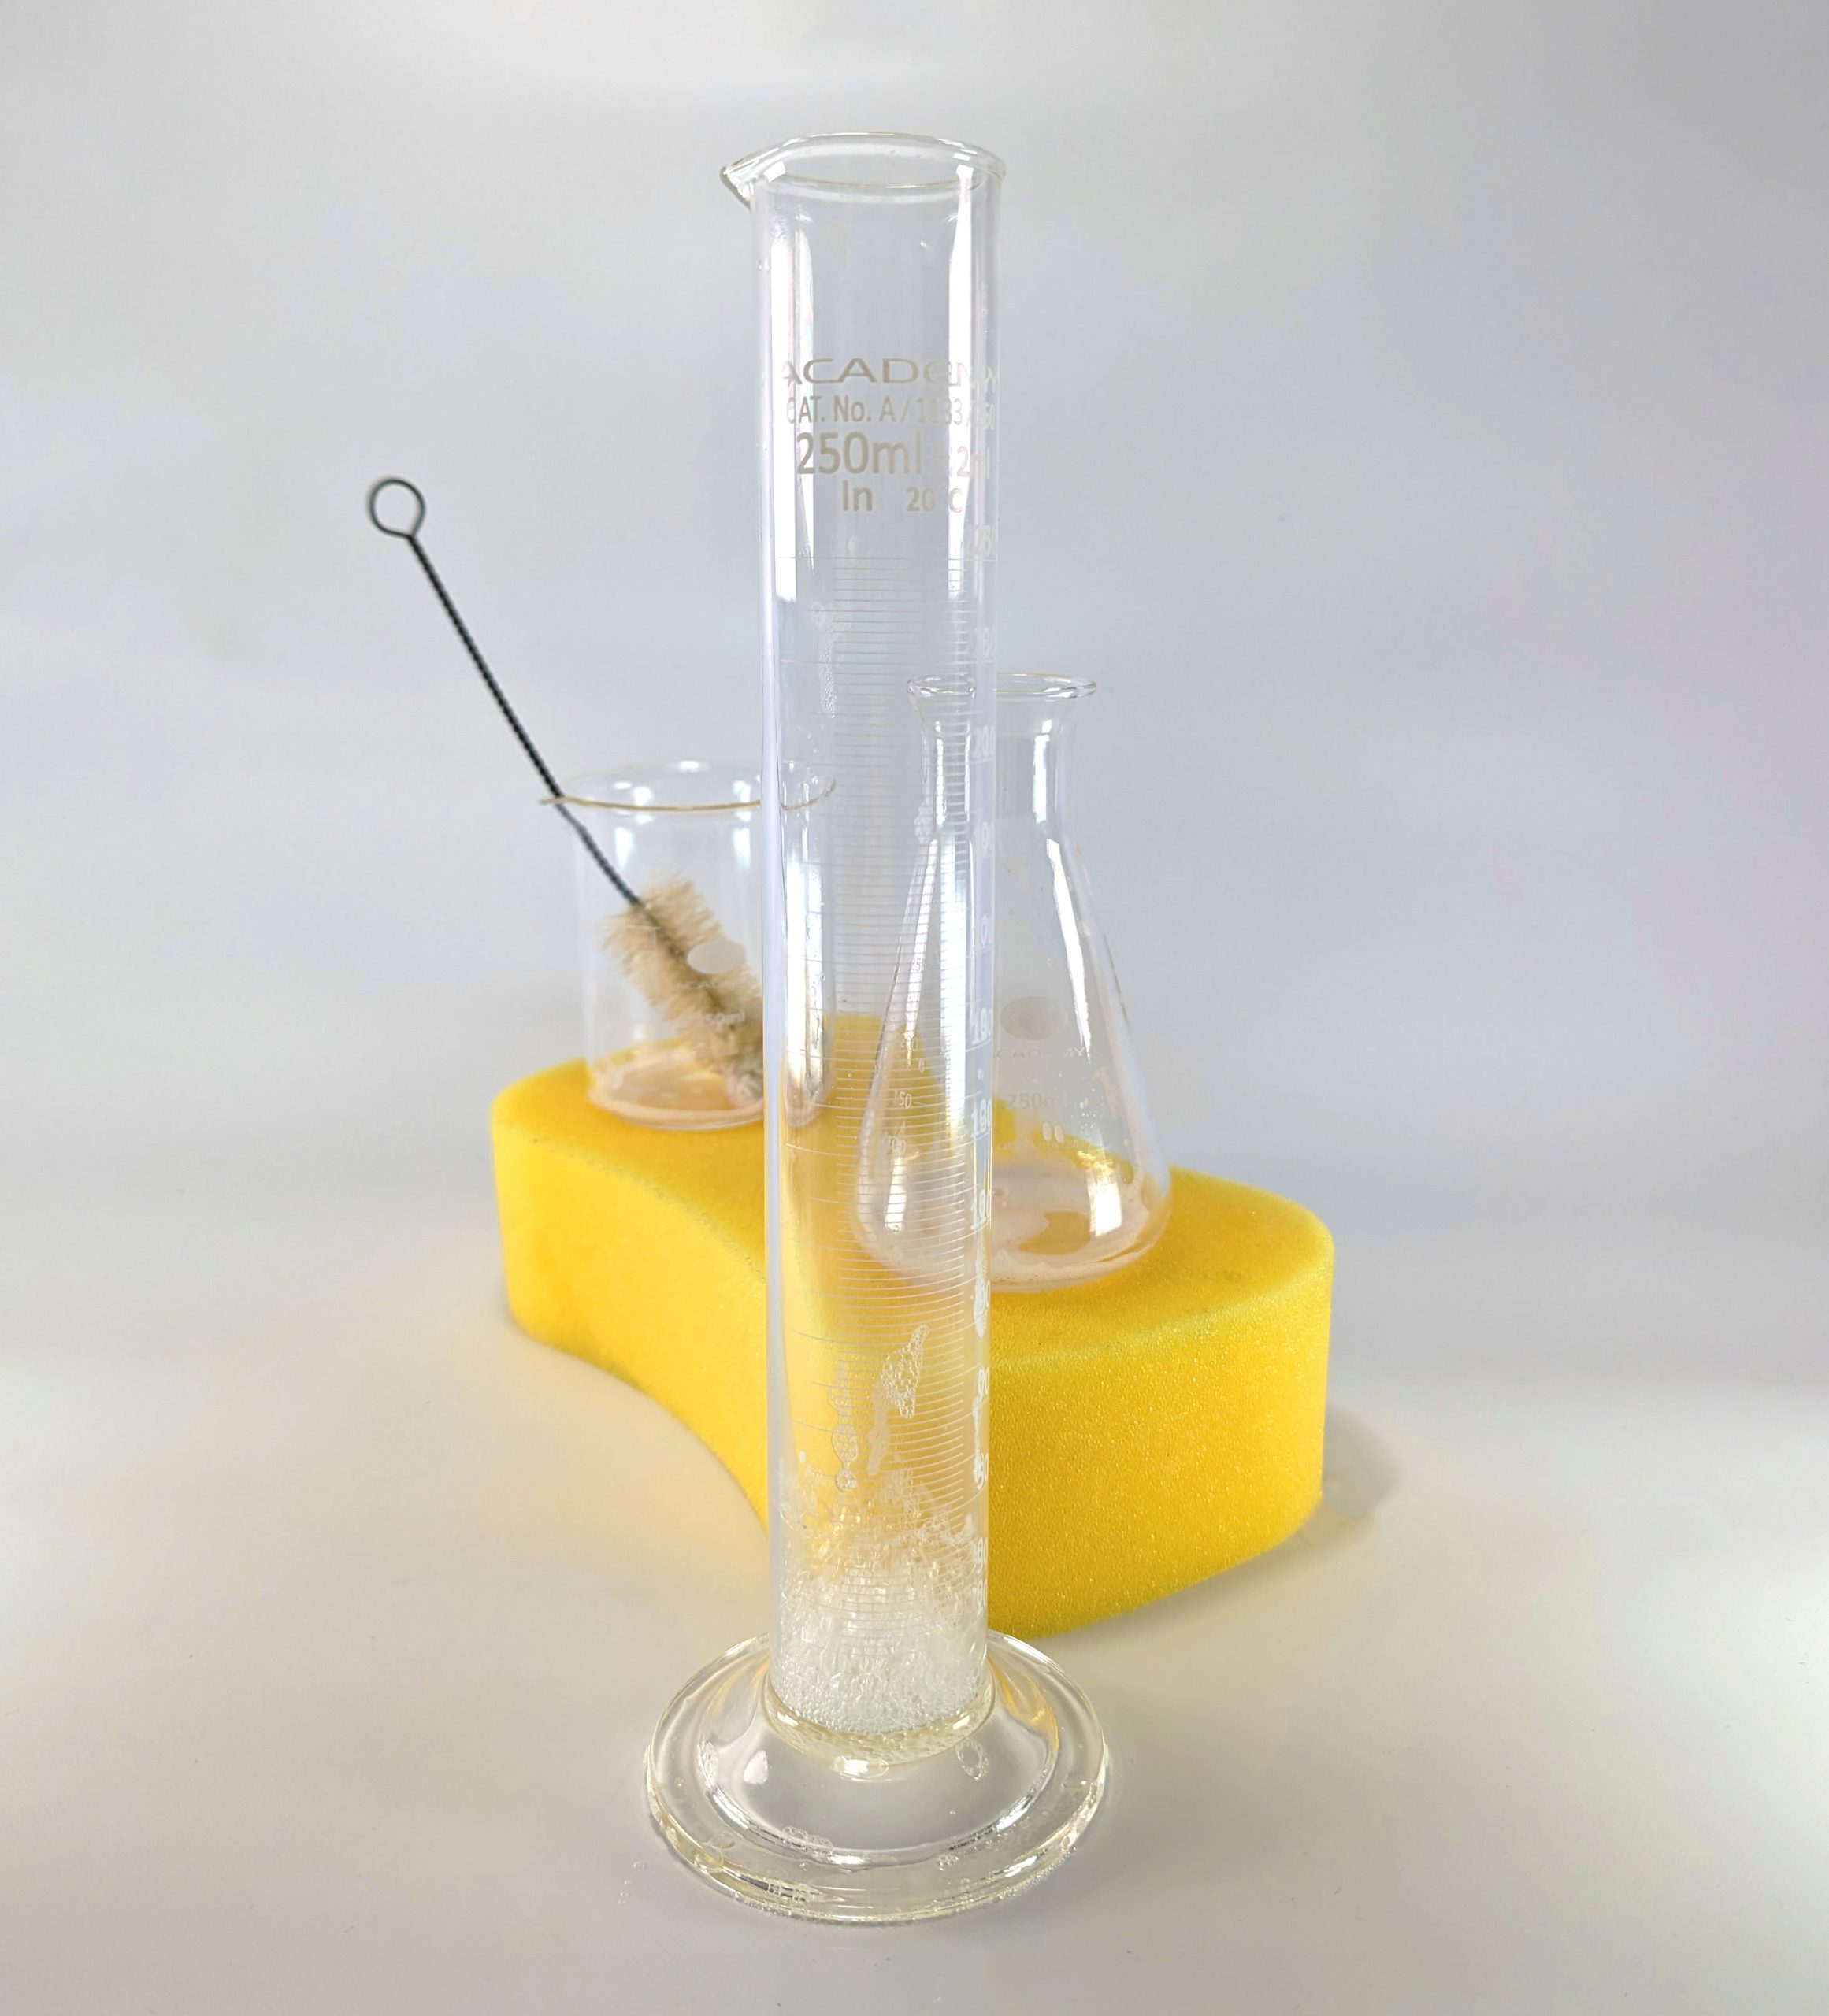
Before you even touch a sponge or detergent, it’s good practice to understand the types of glassware in your laboratory. Beakers, flasks, vials, and test tubes, each with their unique shape and purpose, require particular cleaning methods. Knowing the nuances of each type of vessel and vessel material can prevent damage and ensure thorough cleaning and maintenance.
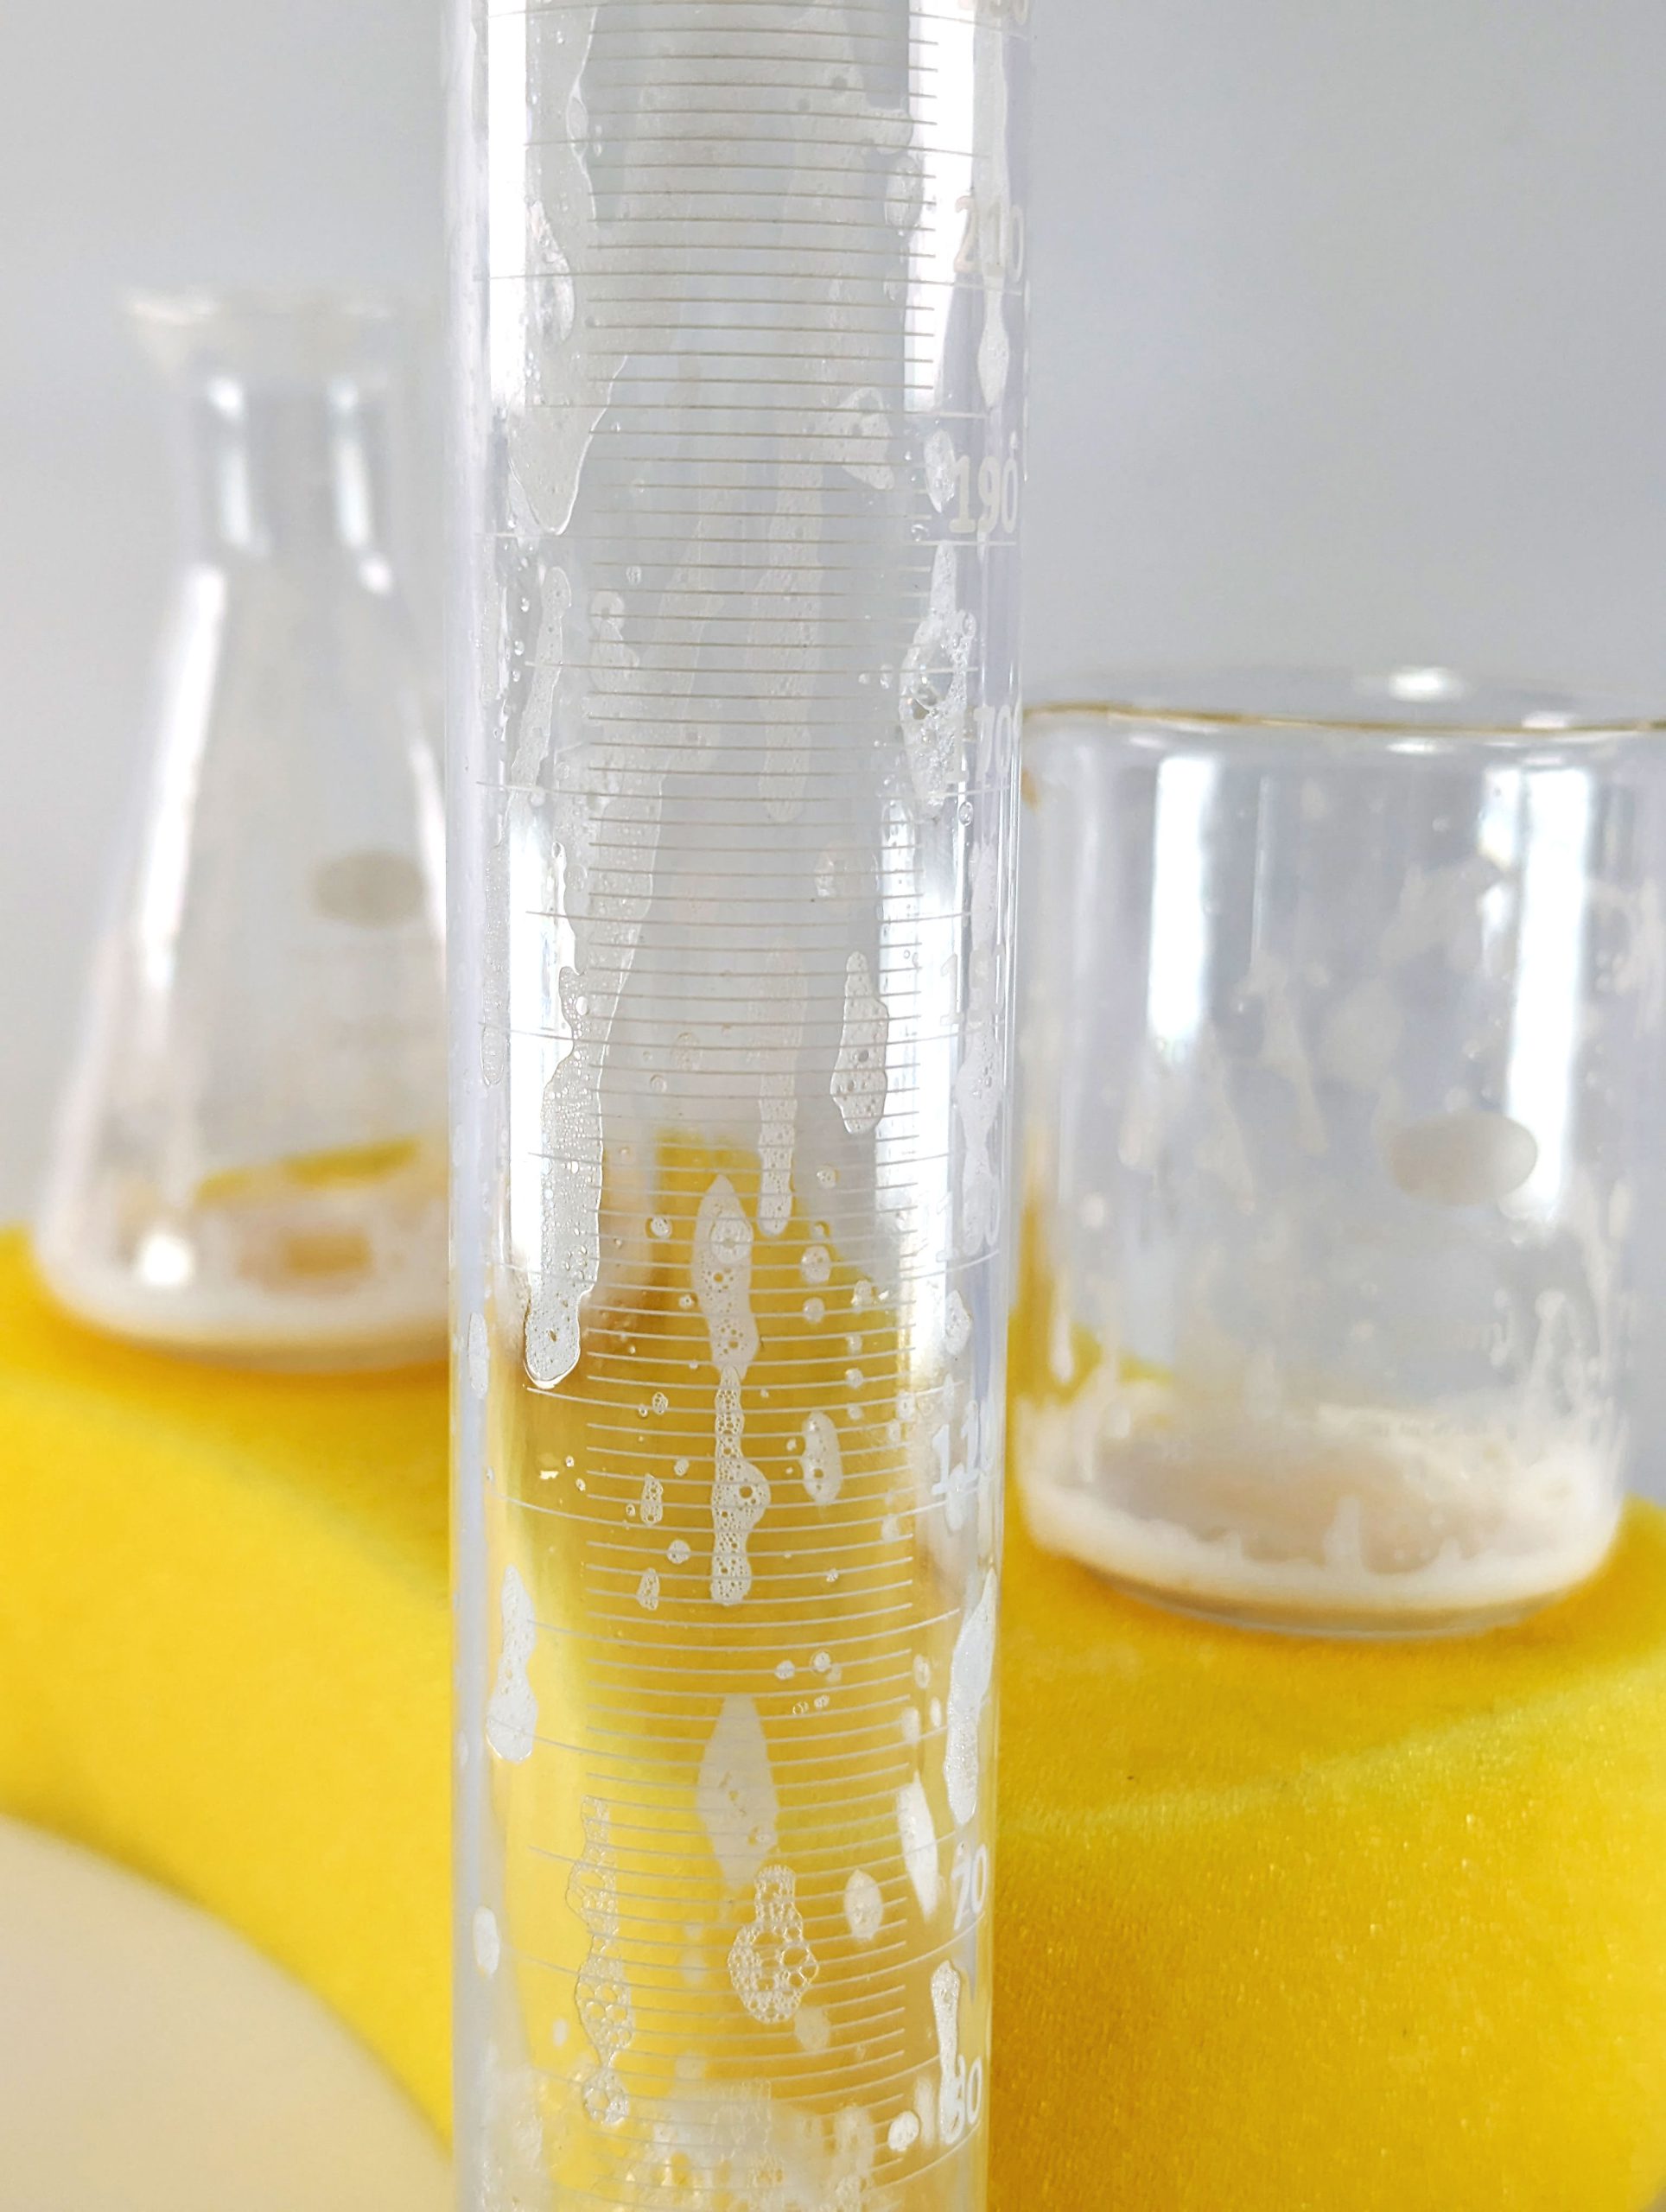
The slightest residue can skew experimental results. Clean glassware is not just about aesthetics; it’s about the integrity of your scientific work. Residues can lead to cross-contamination, inaccurate measurements, and ultimately, unreliable results. Even specks of dust can throw off a measurement considerably – dust leads to liquid being retained on the surface of the glass and any liquid left inside the vessel on the wall is liquid missing! This is very, very important when dealing with accurate analysis.
The material of your glassware does matter. Borosilicate glass, known for its durability and resistance to thermal shock, is a popular choice in labs. Understanding the material helps in selecting the appropriate cleaning methods and avoiding damage during washing.
Glass may be borosilicate, soda-lime, quartz, or another specialised type (of which there are literally hundreds!) Long essays can be written on glass type alone (see our other articles), but suffice to say that the majority of benchtop glassware for the laboratory is borosilicate. Borosilicate is durable and inert, and generally pretty tough stuff.
Bottles are often sodalime, except for blue screw top reagent/media bottles, which are borosilicate when purchased from a reputable brand and supplier. As an aside, please be aware of fake products of blue screw cap bottles, there are cheap imitations in the marketplace which are nothing short of dangerous.
Sodalime bottles are quite adequate for certain storage uses, one simply needs to know what one is using for what purpose. (See our other articles).
Chips, cracks and scratches effect glass durability. The rule of thumb is to maintain stocks in good condition. Please be aware that scratches, chips and cracks all affect the thermal shock characteristics of glassware. (Read about thermal shock in other articles)
Dealing with dirty glassware is more than just a chore; it’s a safety practice. Always check for chemical residues and handle with care. Pre-rinsing can help in removing initial layers of chemicals or substances, making the deep cleaning process more manageable.
In certain cases, sterilisation may be required. Sterilisation should occur prior to washing! For sterilisation, you should generally be thinking of an autoclave, as steam under pressure is a superior technique compared to others.
Manual washing may seem straightforward, and sometimes it is. However, on other occasions it’s more of an art in itself.
For larger laboratories, automated washers can be a game-changer. These machines are designed to handle a variety of glassware, ensuring consistent and thorough cleaning while saving time and labour.
The choice of detergent can make a significant difference. Opt for non-abrasive, laboratory-grade detergents that effectively remove residues without leaving behind any harmful traces.
Sometimes, you’ll encounter stubborn stains or deposits that won’t budge with regular cleaning. In these cases, specific techniques like soaking in special solutions or using ultrasonic cleaners can be effective. Overly aggressive brush or scrubbing technique will result in breakages. Also, soaking in aggressive chemicals may ruin the vessel (see other articles).
Rinsing is as important as cleaning. Residues from detergents can also affect experimental results. Rinse thoroughly with distilled water, ensuring no traces of detergents are left behind.
Once cleaned, storing your glassware properly is crucial to maintaining its cleanliness. Store in a dust-free, organised manner, preferably in closed cabinets to prevent contamination.
Regular maintenance is key to preventing residue build-up. Establishing a cleaning routine after every use can go a long way towards keeping your glassware pristine.
In today’s world, it’s important to consider the environmental impact of your lab practices. Opt for eco-friendly detergents and water-saving methods to reduce your ecological footprint.
Now, let’s examine the specifics of washing laboratory glassware. Here, we’ll cover everything from pre-washing preparations to the final inspection for cleanliness. Let’s answer some questions:
Regular dish soap can be used for cleaning laboratory glassware, but with caution. While it’s effective for removing everyday grime and residues, there are several factors to consider:
In summary, while regular dish soap can be used for a quick and simple cleaning of Academy laboratory glassware, it’s not the ideal choice for thorough, residue-free cleaning, especially in cases where precision and contamination control are critical. For most laboratory applications, it’s recommended to use specialised lab detergents and follow standard cleaning protocols to ensure the glassware’s cleanliness and the experiment’s integrity.
Academy Laboratory glassware should be cleaned immediately after each use to prevent residues from drying and becoming harder to remove. This practice is essential for maintaining the integrity and accuracy of experimental results. Here are some key points to consider regarding the frequency of cleaning Academy laboratory glassware:
In summary, regular and timely cleaning of laboratory glassware is a critical practice in any lab setting. It maintains the quality and accuracy of experiments and ensures the longevity and safety of the glassware. Establishing and adhering to a consistent cleaning schedule, tailored to the specific needs of the experiments and types of glassware used, is key to achieving reliable experimental outcomes.
Drying laboratory glassware properly is as crucial as cleaning it, as improper drying can introduce contaminants or residues that might affect experimental results. Here’s a guide to the best practices for drying laboratory glassware:
Remember, the choice of drying method can depend on the specific type of glassware, the nature of the experiment, and the lab’s available resources. The key is to ensure that the method used does not introduce contaminants and that the glassware is completely dry before every use.
Using a dishwasher for cleaning laboratory glassware can be safe and helpful, but not necessarily all that effective. It depends on several factors including the type of glassware, the nature of the contaminants, and the specifications of the dishwasher. Here are considerations to determine if using a dishwasher is appropriate for your laboratory glassware:

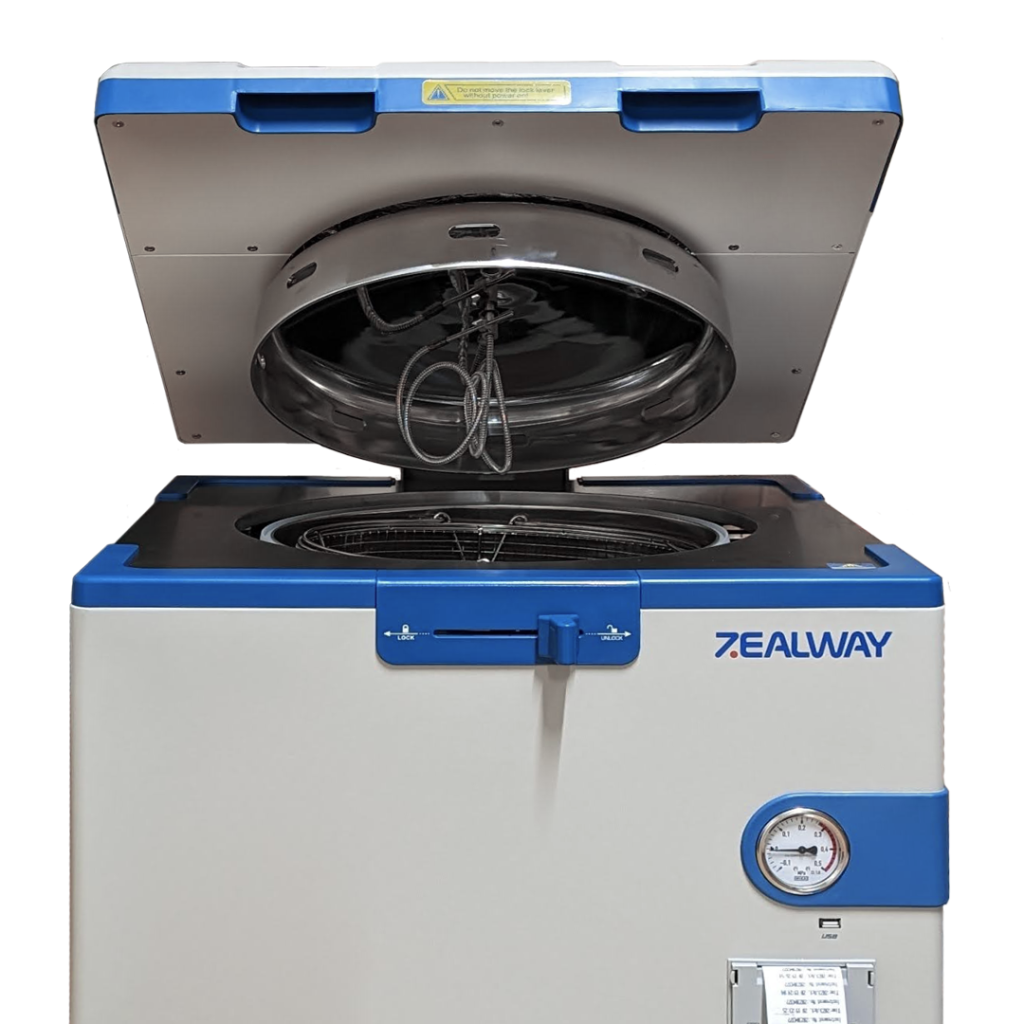
In summary, while dishwashers can be used for cleaning some types of laboratory glassware, it’s important to consider the specific requirements and safety protocols of your laboratory. For many applications, particularly those involving sensitive or hazardous materials, manual cleaning or the use of an autoclave for sterilisation as well as a laboratory-grade glassware washer is recommended.
Removing oil or grease from laboratory glassware requires a methodical approach to ensure that all residues are effectively eliminated. Here’s a step-by-step guide to deal with oily or greasy contaminants:
Remember, safety is paramount. When using solvents for cleaning, work in a well-ventilated area and follow all laboratory safety protocols. Disposal of used solvents should also be completed in accordance with your facility’s waste disposal guidelines.
Conical Flasks – Academy Science (academy-science.com)
Ultrasonic cleaners are a popular tool in laboratories for cleaning glassware, but it’s important to use them correctly to avoid potential damage. Here’s what you should know about the safety of using ultrasonic cleaners with laboratory glassware:
In summary, while ultrasonic cleaners are generally safe for use with laboratory glassware, it’s important to consider the type of glassware, the cleaner’s settings, and the condition of the items to be cleaned. When used properly, ultrasonic cleaners can provide effective and efficient cleaning without damaging glassware.
Washing laboratory glassware is an essential skill in the realm of scientific research. By following these tips and techniques carefully, you can ensure that your glassware is not only clean but also maintains its precision and dependability in your experimental outcomes.
SpeedTest123
Laboratory glassware, an essential cornerstone in the scientific realm, stands as a symbol of precision, innovation, and discovery. This article delves deep into the world of laboratory glassware, exploring its myriad types, vital role in scientific research, and the care and maintenance it demands. From beakers to test tubes, each piece of glassware has its own story, significance, and application in the vast expanse of scientific exploration.
The journey of laboratory glassware dates back to ancient times, with alchemists and early chemists crafting vessels for their experiments. From rudimentary forms to the introduction of borosilicate glass, the evolution of glassware mirrors the advancements in scientific understanding and technological capabilities.


In recent times, laboratory glassware has undergone revolutionary changes, both in design and material. The introduction of more resilient and heat-resistant glass has transformed the landscape of scientific experimentation, allowing for more complex and varied procedures.
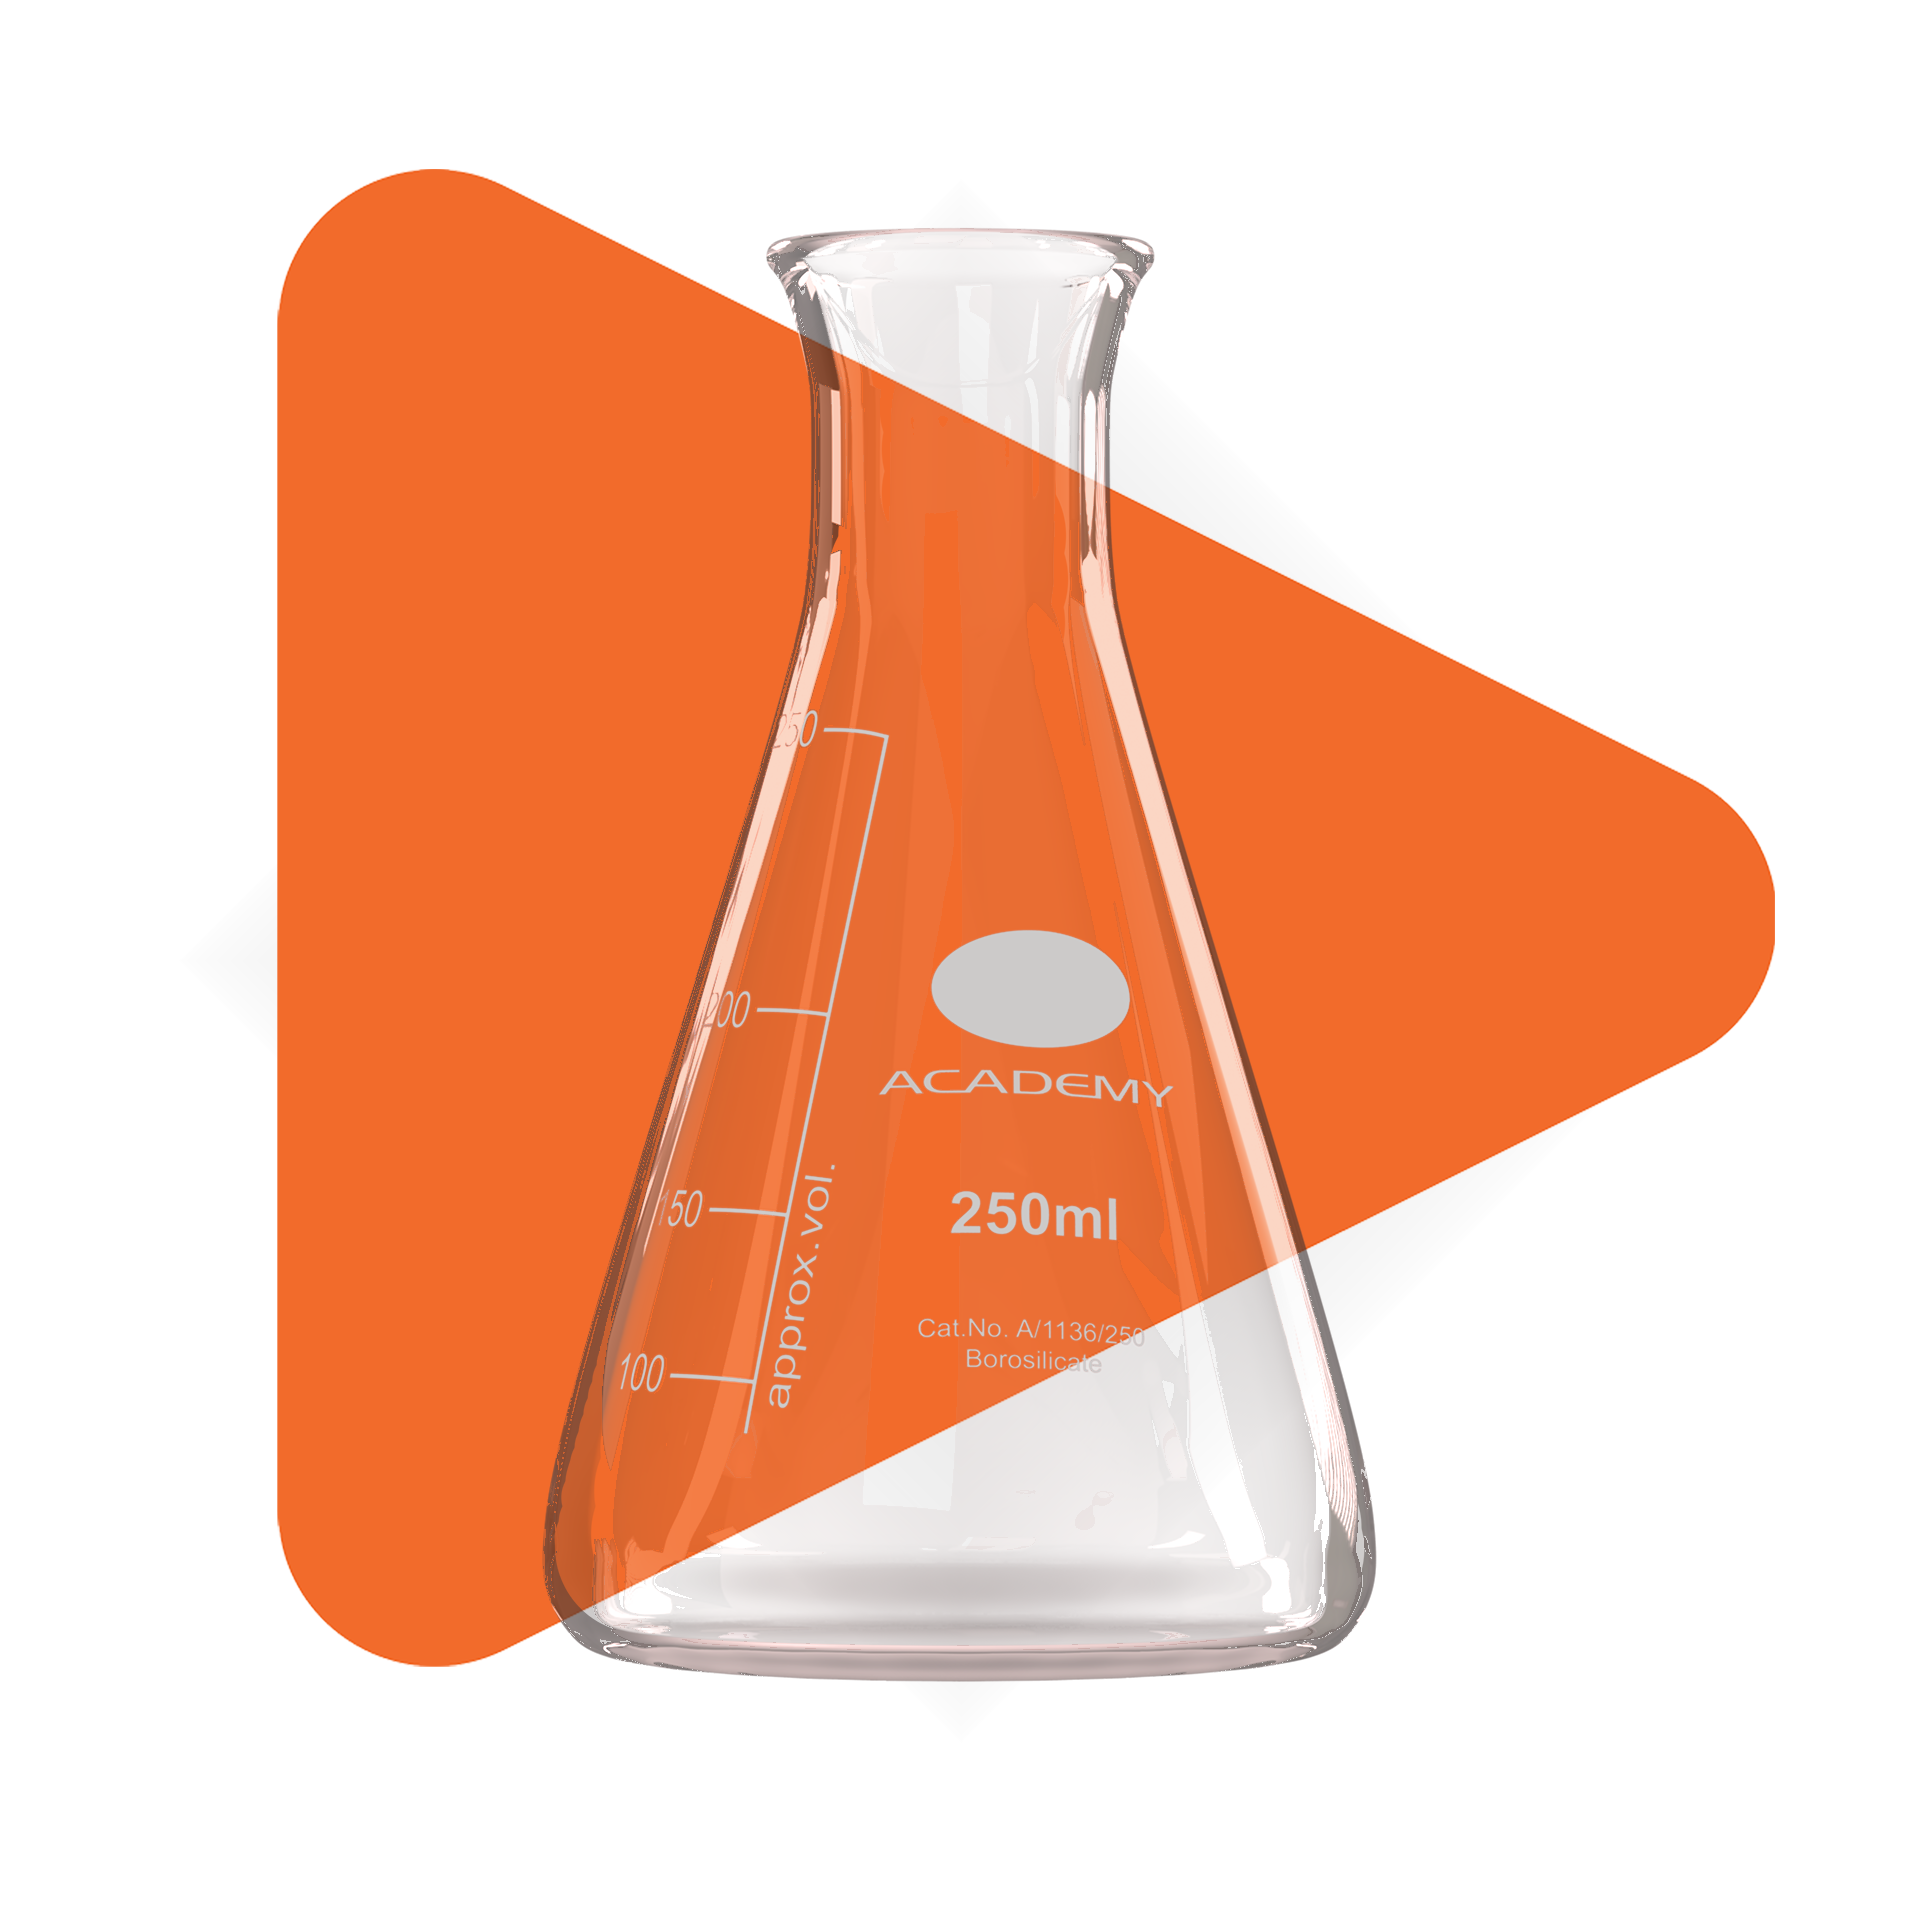
Beakers and flasks are the quintessential components of any lab setup. They come in various sizes and shapes, each tailored for specific types of experiments. Understanding their unique features and applications is crucial for any aspiring scientist. Explore The Range
Test tubes and Petri dishes play a pivotal role in biological and chemical experiments. Their specific designs cater to the needs of culturing and observing microorganisms, as well as conducting small-scale chemical reactions.
Test Tubes Range
Burettes and pipettes are indispensable for experiments requiring precision in liquid measurement and transfer. They exemplify the accuracy and meticulousness inherent in scientific research. See More Pipettes
Borosilicate glass, known for its exceptional resistance to thermal shock and chemical corrosion, is a popular choice in laboratories. Its unique properties make it ideal for a wide range of scientific applications.
Soda-lime glass, another common type of glassware, is primarily used in applications where chemical resistance and thermal stability are less critical. Its widespread use demonstrates the diversity in glassware materials.
Quartz glass, renowned for its purity and high melting point, is used in specialized applications, such as UV light experiments and high-temperature processes. Its unique characteristics open doors to advanced scientific experimentation.
The precision and accuracy provided by laboratory glassware are paramount in achieving reliable and repeatable results. Each piece of glassware is designed to offer the utmost precision, impacting the validity of scientific findings.
One of the critical roles of laboratory glassware is to prevent contamination in experiments. The non-reactive nature of glass makes it an ideal choice for maintaining the purity and integrity of samples.
Selecting the appropriate glassware involves considering factors such as chemical compatibility, temperature resistance, and the nature of the experiment. Making the right choice is crucial for the success of any scientific procedure.
Safety and durability are key considerations when choosing laboratory glassware. Understanding the strengths and limitations of different glass types helps in selecting glassware that not only suits the experiment but also ensures the safety of those handling it.
Proper cleaning and maintenance of laboratory glassware are essential to preserve its accuracy and longevity. This section covers the best practices for cleaning different types of glassware, ensuring they remain in optimal condition for precise experiments.
Proper storage and handling of laboratory glassware are as important as its cleaning. This part of the article will guide on the best practices for storing and handling glassware to prevent damage and contamination.
Calibration is critical for ensuring measurement accuracy in laboratory glassware. This section explores the standard calibration techniques used in labs to maintain the reliability of measurements.
The accuracy of measurements directly impacts the validity of experimental results. This segment emphasizes the importance of precision in scientific research and how calibration plays a crucial role in achieving this.
The advent of smart glassware technology marks a new era in laboratory experimentation. This technology integrates sensors and data logging capabilities, enhancing the efficiency and accuracy of scientific research.
With growing environmental concerns, the development of eco-friendly glassware alternatives has gained momentum. This section highlights the efforts towards creating sustainable and environmentally friendly laboratory equipment.
Laboratory glassware is not just confined to professional labs; its presence in school laboratories plays a crucial role in nurturing the scientific curiosity of students. This section explores the educational significance of glassware in school settings.
The hands-on experience provided by laboratory glassware in educational settings offers numerous benefits. It fosters critical thinking, practical skills, and a deeper understanding of scientific principles among students.
In industrial laboratories, laboratory glassware takes on a different scale and application. This part of the article delves into its use in large-scale industrial research and production.
The adherence to industrial standards in the manufacturing and use of laboratory glassware is crucial for ensuring safety and consistency in industrial applications.
Custom glassware solutions cater to specific research needs that standard glassware cannot meet. This section discusses the process of designing and creating custom glassware for specialized experiments.
Exploring case studies of custom glassware solutions provides insight into their practical applications and benefits in advancing scientific research.
The production and disposal of laboratory glassware have environmental implications. This section examines the sustainability efforts in the industry, focusing on reducing the ecological footprint of glassware.
Recycling and reusing laboratory glassware is a key aspect of sustainable lab practices. This segment highlights the importance and methods of recycling glassware, contributing to environmental conservation.
Understanding the common hazards associated with laboratory glassware is essential for maintaining a safe laboratory environment. This part addresses the potential risks and how to mitigate them.
Implementing best safety practices in the handling and use of laboratory glassware is crucial for preventing accidents and ensuring the well-being of lab personnel.
The future of laboratory glassware is shaped by emerging technologies. This section speculates on the advancements and innovations that are likely to redefine laboratory practices in the coming years.
Drawing from current trends and technological advancements, this segment offers predictions for the future of the laboratory glassware industry, anticipating changes and developments in the field.
Laboratory glassware plays a pivotal role in global research initiatives. Its contribution to international scientific studies and collaborations is undeniable, bridging geographical and cultural boundaries in the pursuit of knowledge.
The use of standardized laboratory glassware facilitates cross-cultural collaborations in research. This section examines how glassware unites scientists from diverse backgrounds in a shared quest for scientific discovery.
Beyond its scientific utility, laboratory glassware holds an aesthetic appeal. Its presence in art and culture showcases the beauty and elegance of scientific equipment, blurring the lines between science and art.
This section celebrates the visual and artistic aspects of laboratory glassware, appreciating its form and function as a testament to human ingenuity and the pursuit of knowledge.
In conclusion, laboratory glassware is not merely a set of tools; it’s a testament to human curiosity, a bridge to new discoveries, and a beacon of scientific advancement. As we move forward, the evolution of laboratory glassware will continue to mirror our progress in understanding and manipulating the natural world.

Our products are manufactured to ISO standards and sold as such, where applicable.
The International Organisation for Standardisation is one of the internationally recognised bodies that develop and ensure the standardisation of products.
Another global organisation is ASTM International. Their standards are similar to ISO, but differ slightly.
For example, ISO 3819 standard for the width of the body of a 250ml beaker is 70mm +/-5, and a maximum height of 97mm, whilst the standard for the ASTM E960-93(2021) is 68 mm +/-2 and the height 100mm. USP (United States Pharmacopeia) standards for volumetrics are different again, and the most exacting of them all.
There are national standards, international standards, and in-house company standards. All of them seek to achieve the same goal; that of consistent product that performs the task that it is designed to do.
We pay attention to standards.

ACADEMY SCIENCE
We are a U.K. brand of laboratory
glassware and ancillary products.
Our watchwords are value for money; our clients recognise
this and we have substantial recurring sales into
education, research and medical fields.